In the realm of water heater repair, the expansion tank often remains overlooked despite its pivotal role in preserving your system's integrity. A water heater expansion tank acts as a pressure buffer, absorbing excess water volume caused by thermal expansion. When this component malfunctions, it can lead to increased pressure, damaging the water heater or plumbing infrastructure. This comprehensive guide outlines a stepwise approach to diagnosing and repairing your expansion tank, ensuring your water heating system remains efficient and safe.
Before diving into repair procedures, it's crucial to grasp why the water heater expansion tank matters. When water is heated, it expands, increasing pressure within a closed plumbing system. The expansion tank provides a cushion of air, absorbing this extra volume and preventing stress on pipes and the water heater itself. Without it, pressure buildup can cause leaks, valve failures, or even tank ruptures.
The first step in water heater repair involving the expansion tank is symptom identification. Common indicators include:
Fluctuating water pressure
Frequent activation of the pressure relief valve
Unusual noises near the water heater
Visible leaks around the tank connections
Water temperature inconsistency
Spotting these signs early helps prevent costly damage and guides the repair process.
Before starting, gather necessary tools and supplies:
Adjustable wrench
Screwdriver set
Pressure gauge (preferably a tire pressure gauge)
Replacement expansion tank (if necessary)
Pipe thread sealant or plumber’s tape
Bucket or towels to catch water
Air compressor or bicycle pump (for pressurizing the tank)
Having these on hand ensures a smooth, uninterrupted repair process.
Begin by shutting off the main water supply to the water heater. Next, turn off the water heater’s power source—electric or gas—to avoid safety hazards during repair. Open a hot water faucet nearby to release system pressure and drain excess water from the expansion tank area using a bucket or towels.
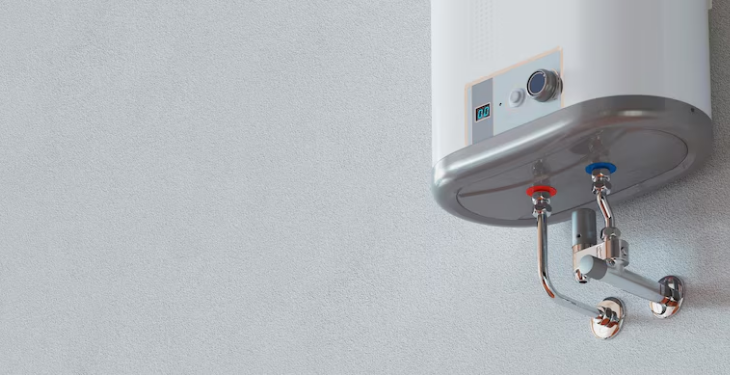
Locate the water heater expansion tank, typically installed above or near the water heater on the cold water supply line. Carefully examine the tank for signs of corrosion, leaks, or physical damage. A swollen or waterlogged tank usually indicates failure and necessitates replacement.
Using a pressure gauge, measure the air pressure inside the expansion tank’s air valve (similar to a tire valve). The pressure should match the home’s water pressure, commonly around 40-60 psi. If pressure is significantly lower or zero, the tank’s air cushion has dissipated, compromising its function.
If the tank is intact but under-pressurized, use an air compressor or bicycle pump to restore the correct air pressure. Be careful not to overinflate, which can damage the tank’s internal bladder. If the tank is waterlogged, damaged, or leaking, replacement is the safer and more effective option.
Using an adjustable wrench, carefully unscrew the expansion tank from the water supply line. Protect surrounding fittings from damage and keep a bucket nearby to catch any residual water. Clean the threads on the pipe to prepare for reinstallation.
Wrap pipe threads with plumber’s tape or apply sealant to ensure a watertight connection. Screw the expansion tank onto the supply line securely but avoid overtightening. Confirm the tank is oriented correctly, typically with the air valve facing outward for easy access.
Turn the water supply back on slowly, watching for leaks around the tank and fittings. Open multiple hot water faucets to purge trapped air in the system. Once the system stabilizes, restore power to the water heater and monitor pressure levels and temperature regulation closely for several hours.
Prevent future water heater repair needs by performing routine maintenance on your expansion tank. Check air pressure biannually, inspect for leaks, and ensure the tank remains securely mounted. Address small issues promptly to avoid more significant complications.
The water heater expansion tank is a vital component that often escapes regular attention. Proper diagnosis and timely repair of expansion tank issues can significantly enhance the lifespan and efficiency of your water heater system. This step-by-step guide empowers homeowners and technicians alike to undertake repairs confidently, ensuring a safe and reliable hot water supply.
| Categories: | Services / Home Services |
| Phone: | 6028818732 |
| Address: | 12725 W. Indian School Rd Suite E-101-F5 Avondale, AZ, 85392 |
| Website: | View our site |
| Email: | asapheaternplumbing@gmail.com |